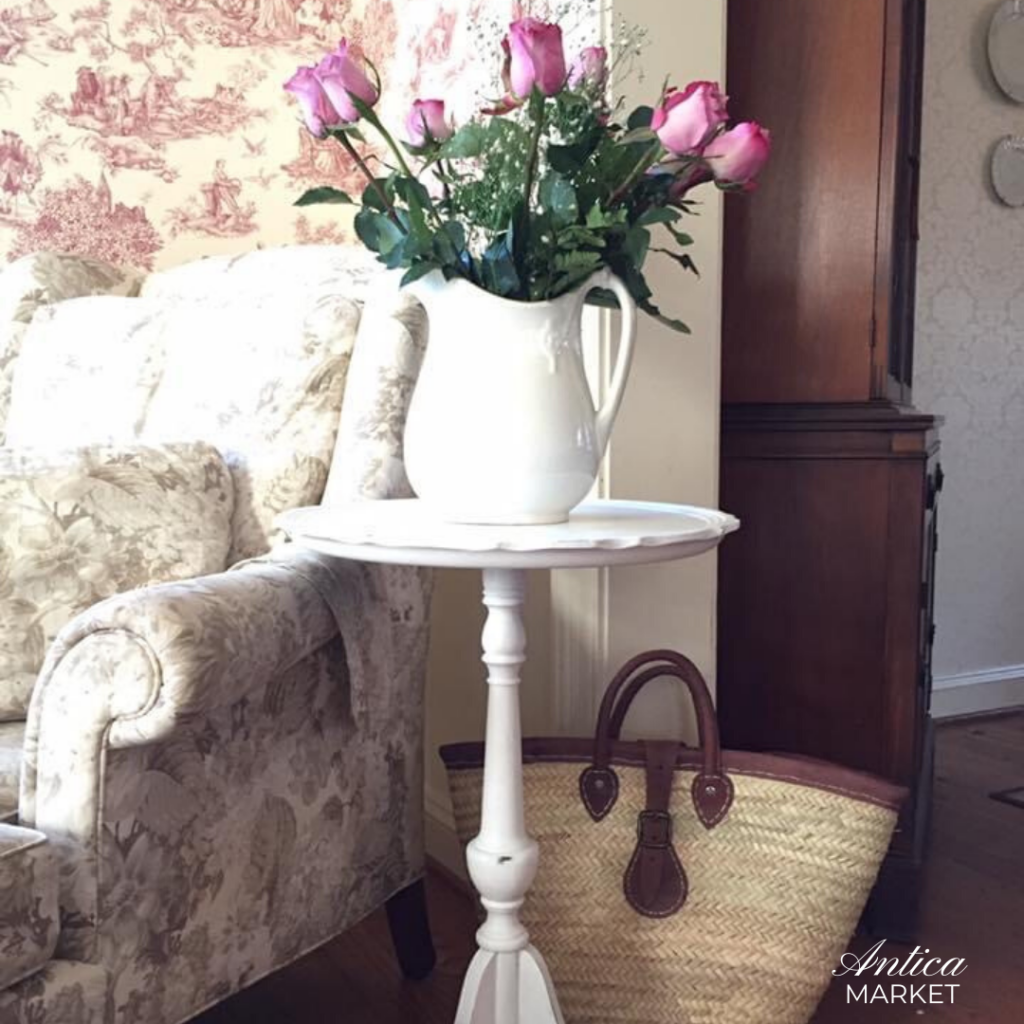
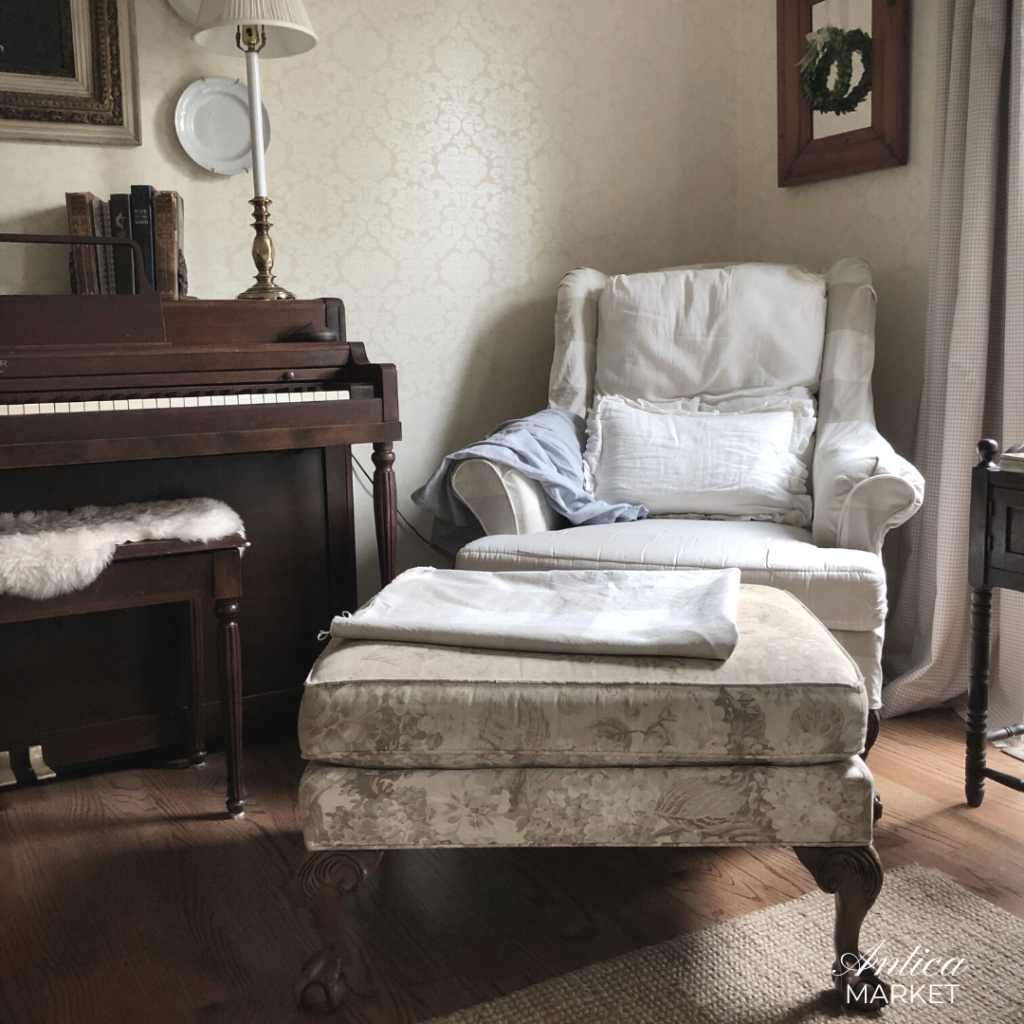
Over the past week I have been making a slipcover for a hand-me-down chair and ottoman. The chair was my mother’s; she passed away almost 17 years ago (I can’t believe it’s been that long). Besides the obvious sentimental value, I have always thought it was a beautiful chair. I love the rolled English arms, ball and claw feet, and linen fabric. Unfortunately, the fabric is now showing its age. I searched, but couldn’t find anything that looked similar to this pretty neutral hydrangea print. After inquiring about someone doing the work for me to recover the chair, I opted to take on the project myself and just slipcover it. Our dog loves to curl up in this chair too and I thought I might not want to invest a fortune in recovering it. I have made slip covers before and I like that they can be removed and washed if needed. Eventually I may go ahead and have it professionally recovered, but for now it seems like a good solution.

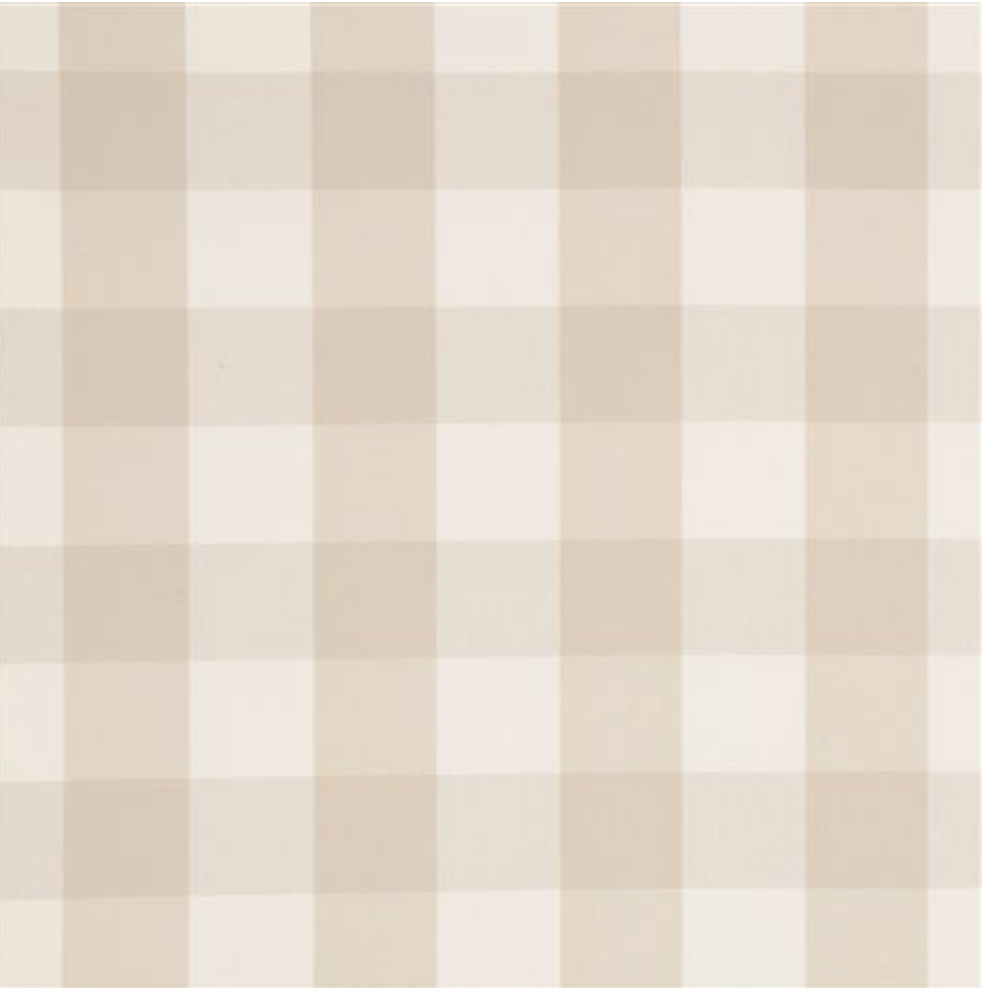
I picked a large buffalo check fabric in the same neutral tones of the original fabric. I love the color and the large checks. It’s called Calvin Dune and I purchased it from Calico Corners (I have the link here). I like to buy good quality fabric so it will have more durability. This one isn’t too pricey – I got it on sale for about $15/yard. It is a good weight for a slipcover – you don’t want anything too heavy and bulky, but you don’t want it flimsy either. Cotton, heavy linen, denim, and canvas are all good choices.

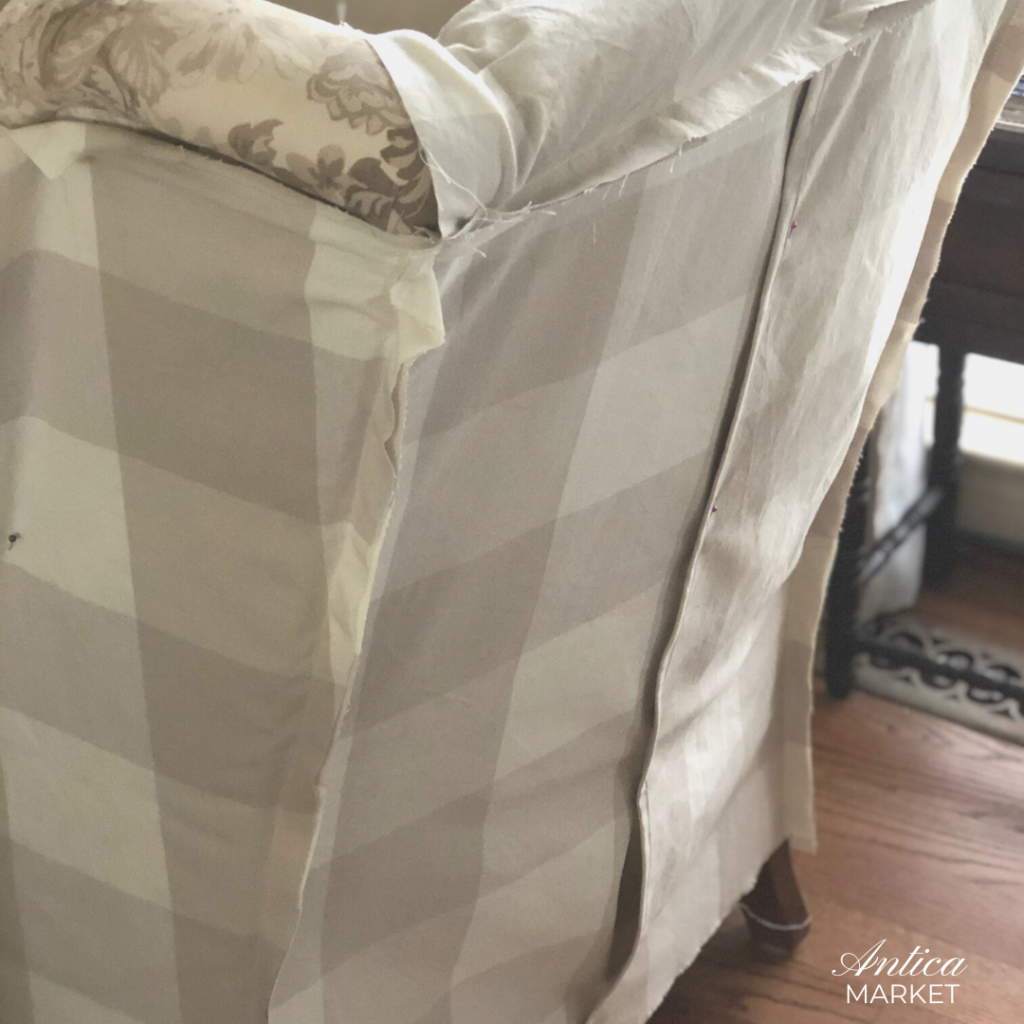
I eye-balled the project and ordered 10 yards. Last week, after washing and drying the fabric to preshrink it, I cut and pinned it to the chair as a template. Then I sewed it piece by piece following the line of pins. Things went well, but the check pattern did make it a more difficult and much slower project because I had to continually make sure things were lined up correctly. A solid fabric makes the whole process easier.

This weekend I finished up the cover that goes on the chair frame, but still I need to cover the two seat cushions and ottoman. As I cut the remaining fabric I realized I wouldn’t have enough to complete the project. Let me just say – that’s a terrible feeling! So, learn a lesson from me – order more fabric than you think you need. I ordered a few more yards this week and I’m just hoping the dye lots match. I basically need it to make more piping so I think it will be ok.

The little setback did put me in a bit of a slump though. I began overanalyzing my work and often I’m my worst critic. When I started adding my shortcomings in this project to all my other shortcomings, well, I found myself falling into a depressed mood. I’m going to comment more on that in this week’s Sunday Reflection Post.
If you have thought about making your own slipcover, I will link some helpful websites below. If you have basic sewing skills, it is totally doable. One trick I’ve learned is to work from the back to the front of the chair and keep checking your work as you go. I pin wrong side up, sew and then place it back on the chair turned the right way to check my work and then turn it inside out again and pin the next pieces. Some people make a template out of inexpensive muslin cloth first and then use those pieces as a pattern. I have never done that. I just lay the fabric on the chair and make approximate generous sized pieces and then start pinning two pieces together along the outline of the chair. I use piping where the original piece has piping. Sometimes I add a skirt to the bottom, but on the chair I’m currently working on I wanted the ball and claw feet to show, so I’m going to make piping to run the whole way around the bottom on the slipcover.
There is a lot of helpful information on this website: https://slipcovermaker.com
Miss Mustard Seed has a good video tutorial as well: https://www.youtube.com/watch?v=HtDFU7FR7o0
I hope you found that useful and I’ll share the finished project soon!
Fondly,
Michelle
